
Photo Enhancement Troubleshooting Template: Diagnose Common Issues Fast
This photo enhancement troubleshooting template helps you diagnose common car photo problems quickly. Car background quality plays a critical role in this process. Identify the symptom, trace the cause, and apply the targeted fix. Print this template or save it for reference when quality issues arise.
At a glance
- Exposure problems
- Color problems
- Background problems
- Sharpness problems
- Compression problems
Troubleshooting framework
For each problem: Identify symptom → Determine cause → Apply fix → Verify result
Exposure problems
Symptom: Photo too dark
- Cause: Underexposure during capture or insufficient lighting optimization
- Fix: Apply brightness/exposure correction. Increase lighting optimization intensity. If severely dark, recapture.
- Prevention: Capture with adequate exposure even in challenging conditions. Enable auto-exposure assist.
Symptom: Photo too bright/washed out
- Cause: Overexposure during capture or excessive enhancement
- Fix: Reduce exposure. Decrease enhancement intensity. Recover highlights if detail is lost.
- Prevention: Avoid direct harsh sunlight. Use exposure compensation when needed.
Symptom: Dark interior despite bright exterior
- Cause: High dynamic range scene exceeding camera capability
- Fix: Apply shadow recovery specifically to interior. Use HDR processing if available.
- Prevention: Capture interiors with doors open for more light. Consider dedicated interior lighting.
Symptom: Mixed exposure across vehicle
- Cause: Partial shade or uneven lighting
- Fix: Apply local exposure adjustments. Balance shadows and highlights independently.
- Prevention: Move vehicle to even lighting. Avoid partial shade situations.
Color problems
Symptom: Overall color cast (blue/orange/green)
- Cause: Incorrect white balance
- Fix: Adjust white balance. Use neutral elements as reference.
- Prevention: Set proper white balance before capture or shoot RAW for adjustment flexibility.
Symptom: Over-saturated unnatural colors
- Cause: Excessive color enhancement
- Fix: Reduce saturation/vibrance. Back off enhancement intensity.
- Prevention: Use moderate enhancement settings. Prefer vibrance over saturation.
Symptom: Paint color appears wrong
- Cause: White balance error, color cast from environment, or over-enhancement
- Fix: Correct white balance. Remove environmental color contamination. Reduce enhancement if over-saturated.
- Prevention: Photograph away from colored surfaces. Verify color accuracy against actual vehicle.
Symptom: Inconsistent color between photos
- Cause: Different white balance settings or enhancement levels per photo
- Fix: Apply consistent settings across all photos in set. Batch process for uniformity.
- Prevention: Process complete sets together with identical settings.
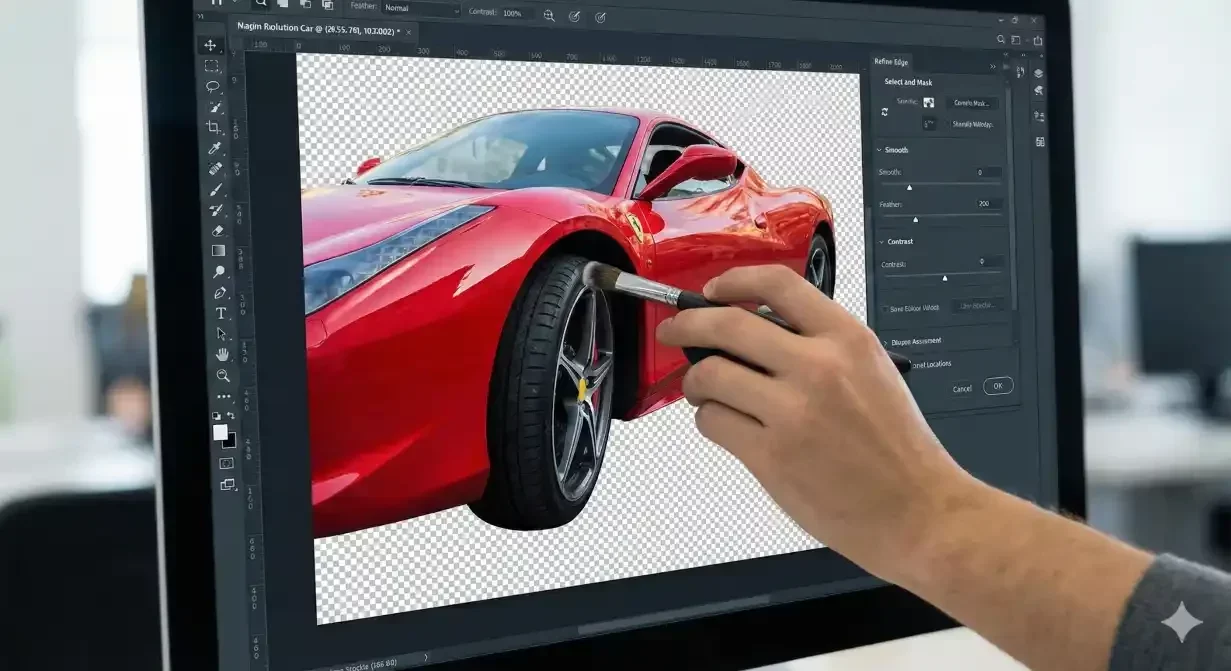
Background problems
Symptom: White halo around vehicle
- Cause: Original light background residue along extraction edge
- Fix: Apply defringe. Contract selection boundary. Use matte removal tools.
- Prevention: Use quality extraction tools. Capture against contrasting backgrounds.
Symptom: Dark fringe around vehicle
- Cause: Original dark background or shadow residue at edge
- Fix: Contract boundary. Remove shadow remnants.
- Prevention: Ensure clean separation from original background during capture.
Symptom: Vehicle appears to float
- Cause: Missing or improperly placed shadow
- Fix: Add/adjust shadow. Position shadow correctly under wheels.
- Prevention: Enable shadow generation. Verify shadow settings in template.
Symptom: Background looks fake/inconsistent
- Cause: Poor background template match or visible processing artifacts
- Fix: Choose more appropriate background. Adjust blending. Fix visible artifacts.
- Prevention: Select backgrounds appropriate for vehicle type and angle.
Sharpness problems
Symptom: Overall soft/blurry image
- Cause: Focus miss during capture or camera shake
- Fix: Apply sharpening if minor. Recapture if significant blur.
- Prevention: Verify focus before moving to next shot. Use steady technique or tripod.
Symptom: Edges soft while center sharp
- Cause: Lens limitation or narrow depth of field
- Fix: Limited correction possible. May need recapture with smaller aperture.
- Prevention: Use appropriate aperture for depth of field. Position for even focus.
Symptom: Pixelated appearance
- Cause: Low resolution source or excessive enlargement
- Fix: Recapture at higher resolution. Use AI upscaling if minor.
- Prevention: Capture at maximum device resolution. Avoid cropping excessively.
Compression problems
Symptom: Blocky artifacts in smooth areas
- Cause: Excessive JPEG compression
- Fix: Re-export at higher quality from better source.
- Prevention: Use appropriate quality settings. Avoid double-compression.
Symptom: Banding in gradients
- Cause: Color depth limitation or compression
- Fix: Re-export at higher quality. Add slight noise to break up banding.
- Prevention: Maintain quality throughout workflow. Avoid excessive compression.
Quick reference decision tree
Is the problem with lighting/exposure?
Yes → See Exposure Problems section
No → Continue
Is the problem with color?
Yes → See Color Problems section
No → Continue
Is the problem with background or edges?
Yes → See Background Problems section
No → Continue
Is the problem with sharpness or detail?
Yes → See Sharpness Problems section
No → Continue
Is the problem with compression or file quality?
Yes → See Compression Problems section
No → Describe specific symptom and investigate
How Car Background AI prevents common problems
Car Background AI automated enhancement addresses most common issues during processing. Lighting optimization corrects exposure. Color enhancement maintains accuracy. Edge refinement eliminates artifacts.
The quality pipeline catches problems before output, reducing the troubleshooting needed downstream.
Final thoughts
This photo enhancement troubleshooting template provides rapid diagnosis for common car photo problems. Match symptoms to causes, apply targeted fixes, and verify results. Most problems trace to a few root causes that, once understood, become easy to address. Try Car Background AI to reduce the problems requiring troubleshooting.
Frequently asked questions
What if my photo has multiple problems?
Address issues in order: exposure first, then color, then background/edges, then sharpness. Fixing foundational issues often resolves downstream symptoms.
When should I recapture instead of trying to fix?
Recapture when problems are severe (significant blur, extreme exposure failure) or fundamental (wrong angle, staging errors). Minor issues are worth fixing; major issues need new captures.
How do I prevent recurring problems?
Track which issues occur repeatedly. Recurring problems indicate systematic issues in capture process, equipment settings, or processing configuration that should be addressed at the source.
Can AI tools fix all these problems?
AI can address many issues automatically, but severe problems exceed AI capability. AI enhancement works best on reasonably captured photos. It improves good-enough photos to excellent; it cannot rescue complete failures.
Should I fix problems before or after background replacement?
Fix exposure and color issues before background replacement when possible. Edge quality issues are addressed during or after replacement. Sharpness issues should be evaluated on source quality first.
How do I know if a fix worked?
Compare to original problem. Check at multiple zoom levels. Verify the symptom is resolved without creating new problems. Final check should confirm professional appearance.
75 E 3rd street, Sheridan, WY, 82801, USA
